Roof Inspection After Solar Panel Installation
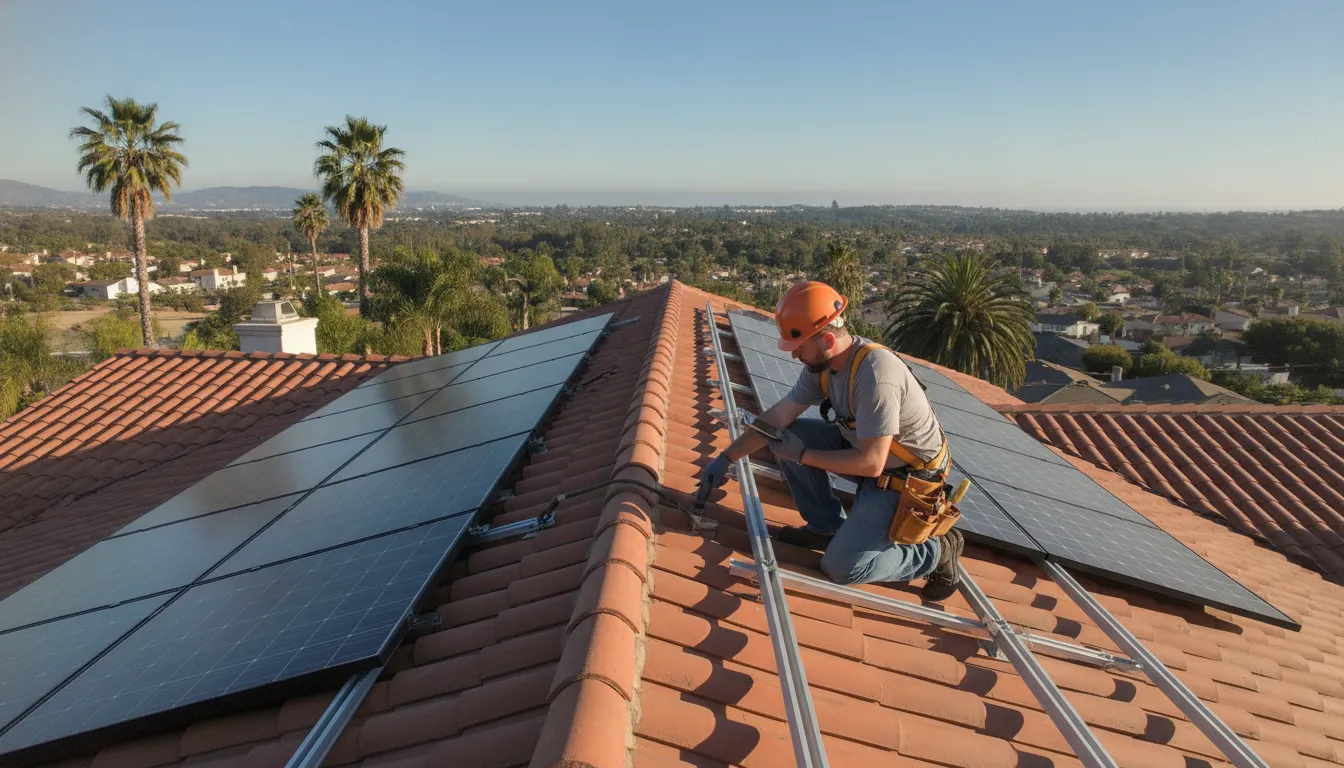
A new solar array can lower your power bill, but the installation also changes how people move across and attach equipment to your roof. A roof inspection after solar panel installation gives you an independent look at those changes before small concerns become hard-to-trace leaks.
Schedule your post-solar roof inspection
The inspection should focus on mounting points, flashing, sealants, roofing materials, drainage paths, and the attic below the array. It should also produce dated photos and a written report that establish the roof’s condition soon after the work is complete.
For Southern California homeowners, this is especially useful before the first meaningful rain and while the installation details are still fresh. The following guide explains what an inspector should check, when to schedule the visit, and how to use the report.
Why get a roof inspection after solar panel installation?
A roof inspection after solar panel installation confirms whether mounting work left the roof watertight, structurally sound, and ready for years beneath the array. An independent inspector can find cracked materials, weak seals, or drainage problems early. The resulting report also protects you if a leak, warranty question, or insurance claim arises later.
Finding hidden damage early
A solar setup can put stress on your roof tiles and deck. Workers must walk across the roof and mount heavy racks to the frame. Sometimes, this can cause cracks or breaks that you cannot see from the ground. An expert look at the roof can find these small issues before they turn into big leaks. Using roof inspection services helps you find these faults early.
- Broken or cracked roof tiles
- Loose or missing bolts
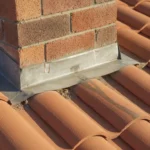
- Damaged roof flashing
- Bad seals around mount points
Drones and thermal cameras can help inspectors find damage or moisture that is difficult to see. Proper roof design and setup must account for roof slope and materials. Finding a loose bolt, failed seal, or damp area early helps prevent attic rot.
Setting a base for your records
A post-installation report establishes the condition of seals, mounts, roofing materials, and visible interior areas. If a leak develops later, the dated findings can help distinguish installation-related damage from later wear or storm damage.
Keep the independent report with your solar contract, warranties, and insurance records. Its photos and findings provide useful evidence when discussing repairs, claims, or a future sale.
Checking load and heat in Southern California
In Southern California, the sun can get hot. This heat affects how a roof reacts to the weight of solar panels. The load from the array must be spread out well so it does not sag the roof deck. A post-job check ensures the roof frame can handle the new weight for many years. It confirms that the mounting hardware has not hurt the roof’s water seal.
Southern California heat can age roofing beneath panels, while rare heavy rain tests every seal. An NRCIA-style inspection evaluates how heat, load, and the array interact with the roof type. Research into rooftop solar effects also supports monitoring the roof as part of solar system care.
What can solar installation change on your roof?
Adding solar panels is a big project that shifts how your roof works. Most setups do not lead to quick failure, but they do bring new risks to the structure. Each roof inspection after solar panel installation should check how these changes affect the life of your home. Experts look for shifts in weight, water flow, and surface health.
Impact on roof structure
Solar arrays add weight to your roof that the first design might not have planned for. The design and installation of solar systems must account for roof slopes and materials to keep the home safe. Over time, this extra load can cause minor sagging or stress in the attic beams. A professional check helps find these shifts before they turn into big structural repairs.
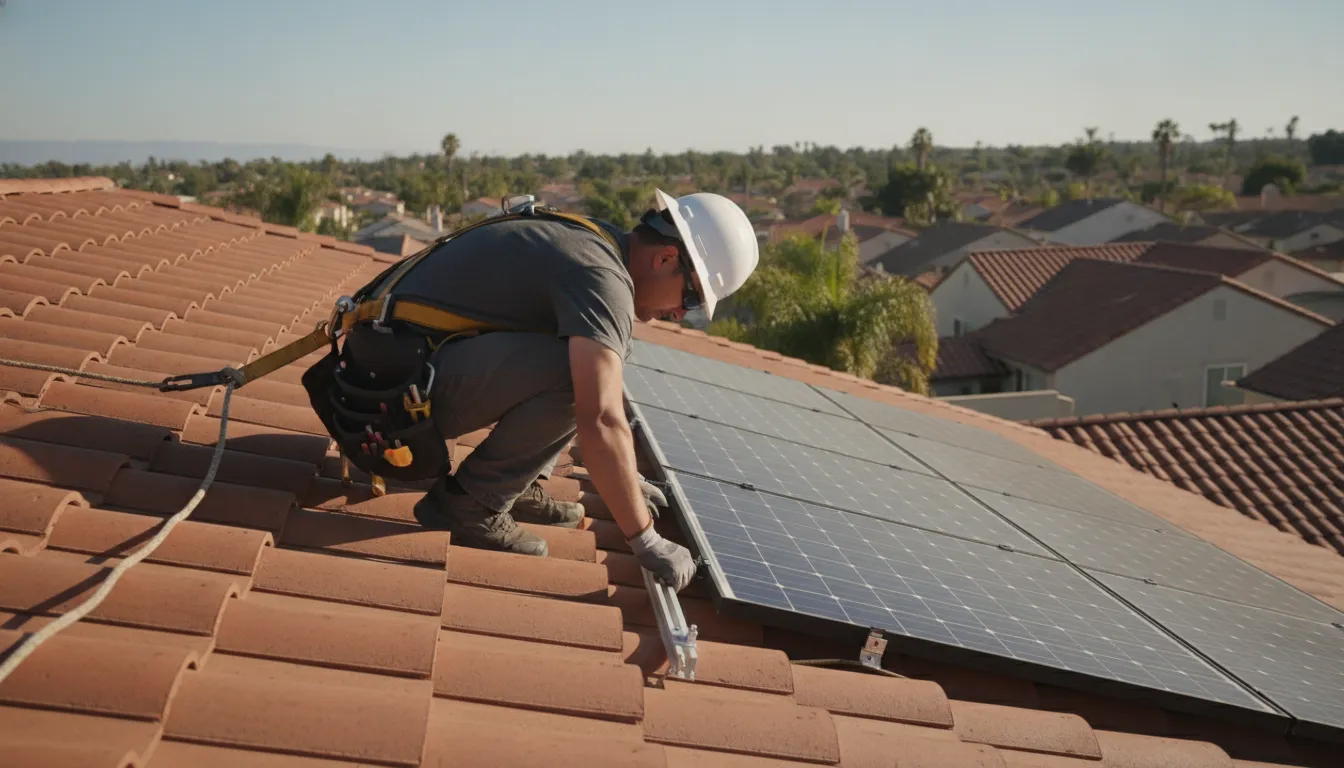
Foot traffic during the work also poses a risk to your roof. Workers often need to walk across tiles or shingles to set up the rails and wiring. This pressure can crack clay tiles or loosen the grit on asphalt shingles. Even small cracks can let in water, which leads to rot in the wood deck underneath.
Water flow and drainage changes
The panels act like a second roof that sits above your first surface. This setup changes how rain moves across your home. Panels can block the natural path of water, which may lead to pooling near the mounting points. If water stays on the roof too long, it can wear down the sealants and base layers. Regular regular roof maintenance is key to keeping your drainage clear of trash that often gets stuck under the array.
Cables and pipes can also trap leaves, twigs, and bird nests. This buildup creates a dam that holds wetness against the roof. When this happens, the risk of leaks grows, mainly during heavy Southern California storms. Professional teams check these areas to ensure that water can still exit the roof fast and safely.
Sealing and hole points
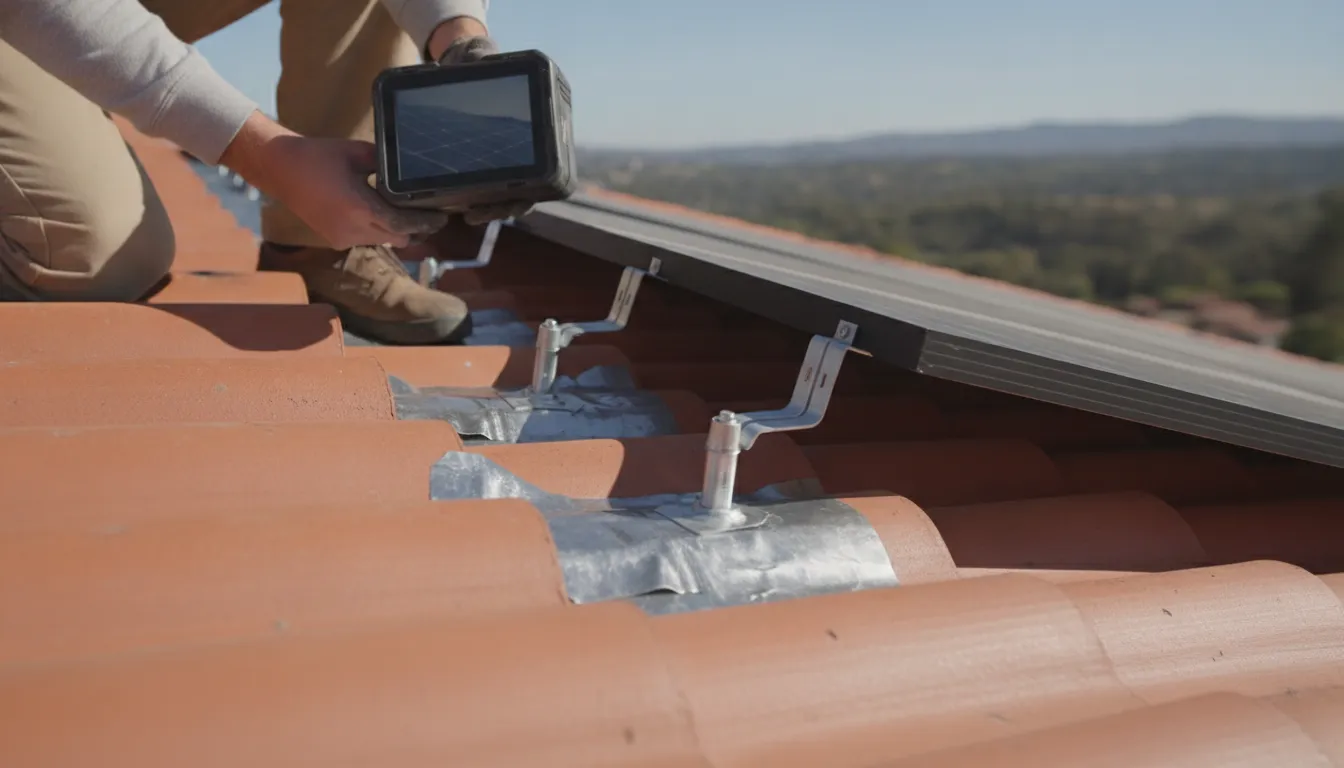
Most solar mounts need holes in your roof beams. Each hole is a place for water to enter if it is not sealed with the right metal covers. Installers use heavy sealants and metal to keep these spots dry. But heat and sun can cause these items to dry out or pull away from the roof surface over time. Tracking these rooftop solar interactions is a key part of home energy care.
Trapped heat is another change that owners should watch. Panels can hold warm air between the array and the roof deck. This extra heat can age the shingles faster or lead to wetness in the attic. A certified expert uses tools like thermal imaging to find these hot spots or hidden leaks that the eye cannot see.
Post-installation roof inspection checklist
A post-installation checklist should cover every mount, flashing detail, nearby roofing material, conduit, drainage path, and the attic below. These are the areas most likely to reveal installation damage or water-entry risks. A methodical inspection completed soon after the crew leaves can prevent a small oversight from becoming an expensive leak.
Check the mounting spots and flashing
The spots where the racks meet the roof are most likely to leak. Each mount needs a hole through the roof. These holes must have good flashing and sealant to keep water out. If the flashing is not set right, rain can seep into the wood. This can cause rot that you may not see for a long time. It is vital to find these gaps before the next storm hits. Most leaks start at these small drill points.
Check the areas near roof vents and pipes too. Solar rails can sometimes get too close to these spots. This may block how water flows off your home. An expert roof inspection checklist helps find these issues fast. Catching small leaks now saves you from big repair bills later. You should look at these spots while the solar crew is still on site. This way, they can fix any errors before they leave.
Look for broken tiles and clear paths
Solar panels are heavy. The people who install them must move around the roof a lot. In Southern California, many homes use clay or concrete tiles. These tiles can crack if someone steps on them the wrong way. A cracked tile under a panel is hard to see but easy for water to find. You must be sure no tiles broke during the work phase. Even one small crack can lead to a mold problem in your attic.
Work trash can also clog your gutters. Scraps of wire, plastic, and tile bits often end up in the water paths. If water cannot flow away, it may back up under the roof. Fact-based safety and design guides show how roof slope and material affect these systems. Clearing these paths is a key part of your check. It keeps your home safe from water damage and helps your roof last longer.
Check the attic and get a report
The last part of your check happens inside your home. Go into the attic to look for light or water. If you see light through a mount hole, water will get in. Look for wet spots or stains on the wood beams. This is the best way to be sure the roof is still watertight. Finding a leak early can save the wood from rot and mold. It also protects the insulation in your roof space.
Expert teams use tools like drones and thermal cameras for a deep check. These tools can find wet spots that the eye might miss. Using solar energy data helps people save on power, but the roof must be strong first. A full report gives you proof for your home insurance. It shows that your roof was in good shape after the solar work was done. This paper trail is vital for the value of your home.
- Check the mount points. Look at every spot where a bracket joins the roof. Make sure the flashing is flat and the sealant is smooth and thick. Gaps in these spots are the main cause of leaks after solar work.
- Inspect the flashing. Be sure all new flashing fits under the old tiles or shingles. It must lead water away from the holes, not trap it near the wood. Poor flashing can let water rot your roof deck.
- Scan for cracked tiles. Walk the roof or use a drone to find broken parts. Look very closely at the tiles that sit under the metal solar racks. Heavy foot traffic during set up can break old tiles easily.
- Check the conduit pipes. Look at the metal tubes that hold the wires. They should be bolted down tight and not rub on the roof surface. Loose pipes can wear down your roof material over time.
- Clear the water paths. Remove any trash, wire bits, or dust from the gutters. Water needs to flow off the roof and away from your home. Clogged drains can cause water to back up and seep inside.
- Look in the attic. Check the wood under the roof for new stains or damp spots. Do this on a sunny day to help you see any light leaks from the new mounts. This is your best defense against hidden rot.
- Get a written report. Ask for a full paper with photos of the work. This report is key if you ever need to file a warranty claim for a leak. A professional report gives you peace of mind for years.
Why baseline photos and reports matter
A roof inspection after solar panel installation creates a dated baseline for tracking changes, supporting claims, and answering future buyers’ questions. Photos show the condition of mounts, flashing, and nearby materials after installation. A written report explains concerns and recommended action, making later comparisons more objective.
Tracking roof health over time
Baseline photos let you compare future inspections with the roof’s post-installation condition. They can show whether a crack, failed seal, or stain appeared later. Because solar arrays may remain in place for decades, this record helps owners identify gradual wear before access beneath the panels becomes urgent.
Making insurance and warranty claims easy
Dated records can help an insurer, roofing contractor, or solar installer understand when damage appeared. Reports may include drone or thermal images that reveal concerns beyond a ground-level view. A professional roof inspection checklist also helps ensure that each critical area is documented consistently.
Supporting real estate sales
Buyers often ask about the condition of both the solar system and the roof beneath it. A baseline report can answer those questions and reduce uncertainty about future panel removal or roofing work. Organized inspection records may also help the buyer’s inspector evaluate changes over time.
What your report should include
A useful report combines clear findings, dated images, and practical next steps. It should identify the inspected areas, limitations, current concerns, and recommended repairs or monitoring.
- Photos of all solar mounting points and flashings.
- Records of the tile or shingle state near the panels.
- Notes on any changes to the roof’s drainage or runoff paths.
- Images from thermal tools to check for trapped water.
- A signed paper from an NRCIA-certified expert.
Keep the report with solar installation, warranty, maintenance, and insurance records.
When should you schedule the inspection?
Timing your roofing review is as key as the study itself. Homeowners in Southern California face unique weather, from high winds to heavy rains. You must know when to call a licensed expert to check your roof’s health. Setting a clear plan helps you avoid big repair costs and keeps your home safe for your family.
After solar setup
You should book a roof inspection after solar panel installation as soon as the work crew finishes. This check ensures that the mounts did not crack your tiles or break the tight seal. Solar systems can last for 20 years or more, but only if the roof stays dry and strong. An expert can find small leaks or loose bolts before they cause big trouble inside your attic.
The layout of your solar panels must match your roof’s type and slope to stay safe. A licensed expert follows strict rules to check the health of the whole system. These safety rules help prevent weight stress that could lead to sagging or breaks over time. Finding these issues early is much cheaper than moving panels to fix a deck later.
Experts often use tools like drones or thermal cameras to find hidden issues after a setup. These high-tech scans can see moisture under the tiles that your eyes might miss. This deep approach gives you a full view of how the new panels work with your roof surface. It ensures that the solar racks are not putting too much strain on the wood beams below.
Following bad weather
Strong winds and heavy rains are common in Orange County and nearby areas. After a big storm, you should check for missing tiles that might have shifted. Santa Ana winds can lift parts and expose the liner to the sun and rain. If you see trash or notice new stains on your ceiling, you need a deep search right away. Waiting too long after a storm can lead to mold growth and wood rot.
Wind damage often hides in spots that are hard to see from the ground. A licensed team will walk the roof and check every flashing and vent. They look for tiny cracks where water can seep in during the next rain. Quick action after a storm can mean the difference between a small patch and a new roof.
Yearly home reviews
Even without a storm or new panels, you should stick to regular roof maintenance and yearly checks. A yearly review helps you track how your roof ages in the hot California sun. Experts look for clogged drains, worn seals, and signs of pest damage. This smart step gives you the records you need for claim help or future home sales.
Having a list of these reviews makes it easy to show your roof’s state to a buyer. It also shows claim firms that you take care of your home. Most expert reports are ready in just 24 to 48 hours. This speed lets you stay on top of small repairs before they turn into costly leaks or solid failures.
| Timing | Main Goal | Best For |
|---|---|---|
| Post-Install | Check seals and mounts | New solar owners |
| Post-Storm | Find wind/water damage | After Santa Ana winds |
| Annual | Track wear and tear | General home health |
| Pre-Sale | Get certifications | Home sellers/buyers |
Planning these checks at the right time protects your home’s value and your peace of mind. Whether you just added solar panels or want to prep for the rains, a quick call can save you money. Stay ahead of the weather by keeping your roof in peak shape all year long.
Who should inspect a roof with solar panels?
A qualified, independent roofing inspector should evaluate the roof after solar installation. City inspectors generally focus on code, electrical, and fire-safety requirements. Solar installers focus on their equipment. A roof specialist instead evaluates roofing materials, penetrations, flashing, drainage, and signs of moisture, then documents those findings without relying on the installer.
Electrical versus structural checks
A city inspector usually focuses on code, electrical work, and fire safety rather than subtle roofing damage. The solar crew verifies that its panels, racks, and bolts are secure. Neither review necessarily includes a complete assessment of the roofing materials, penetrations, or attic.
The CDC notes that solar design must account for roof slopes and components. A roofing specialist can evaluate how that design affects the roof itself.
The role of outside experts
An independent roof expert provides a roof-focused opinion without working for the solar company. A roof inspection services professional examines penetrations, flashing, drainage, and surrounding materials. Thermal cameras or drones may help reveal moisture or damage that is difficult to see.
Cert-A-Roof uses NRCIA protocols to evaluate the whole roof, not only the array area. Inspectors document flashing, drains, edges, materials, and observed concerns. This matters because rooftop solar interacts with the roof surface throughout its service life.
Key questions to ask
Ask about roofing credentials, solar-roof experience, inspection methods, and report scope. Confirm whether the inspector will examine mount areas, surrounding materials, drainage, and accessible attic spaces. A professional roof inspection checklist helps you compare the promised scope with the final report.
Also ask when the report will arrive, what images it includes, and how recommendations are prioritized. Confirm that the inspector is independent of the solar installer. Keep the completed report with warranty and insurance records.
Warning signs that call for a prompt inspection
Schedule a prompt inspection if you notice ceiling stains, attic odors, cracked tiles, bent flashing, drainage problems, or rattling during wind. These symptoms may indicate water intrusion, damaged roofing, or loose hardware. Use an expert roof checklist to document visible concerns, but leave roof access to a trained professional.
- Stains on ceilings or upper walls
- Musty smells in the attic or crawl space
- Cracked or missing roof tiles
- Loose or bent metal flashing
- Banging or rattling sounds in high winds
Inside leaks and water stains
One of the most clear signs of trouble is water inside your home. Look for brown or yellow stains on your ceiling or walls after a heavy rain. These spots often show up near where the solar mounts attach to the roof deck. If you see damp spots or peeling paint, water may be getting past the seals.
Damp insulation in the attic is another warning sign. You might also notice a musty or earthy smell in high rooms. These smells suggest that moisture is trapped under the panels or in the roof layers. Certified inspectors use tools to find these hidden leaks. They may use thermal scans to find moisture that the human eye cannot see.
Damage to roof tiles and flashing
Workers must walk across your roof and drill holes to mount the system. This work can sometimes crack tiles or bend metal flashing. If you see pieces of tile on the ground or in your gutters, you need an expert to look at the roof. Loose tiles leave the lower layers open to sun and rain.
Loose flashing is another big risk. Flashing is the metal that keeps water out of joints and edges. If it looks bent or pulls away from the roof, leaks are likely to follow. You might also hear strange sounds like rattling or banging when the wind blows. This can mean that a mount or a panel is not tight. A roof inspection after solar panel installation can find these loose parts before they cause a leak.
Blocked drainage and debris
Solar panels create a gap between the array and the roof surface. This space can trap leaves, twigs, and bird nests. When debris builds up, it blocks the flow of water to your gutters. Standing water can rot wood and rust metal parts over time.
Check your gutters for slow drainage or overflow. If water spills over the sides, there may be a clog under your panels. You should never climb on your roof to check this yourself. Walking on a roof with solar panels is risky and can void your plan. Instead, hire roof inspection services to safely check the paths and clear any blocks.
Frequently Asked Questions
Should I get a roof inspection after solar panel installation?
Yes, you should get a check once the solar crew is done. This makes sure that the mounting hardware did not harm your roof’s water seal. Based on Cert-A-Roof rules, a pro check looks for loose bolts or cracked tiles that lead to leaks. Catching these flaws early stops wood rot and high repair costs. It gives you the peace of mind that your home is safe and stays dry for years to come.
Why should I get a roof inspection before installing solar panels?
A check before the job shows if your roof is strong enough for the panels. Fixing a roof after the array is up is hard and costs a lot of money. The NRCIA says that fixing a roof later needs you to pay for panel removal and setup again. Finding and fixing issues now saves you from paying twice for the same work. It makes sure your roof can hold the new weight for its entire life.
Do solar panels cause roof leaks?
Solar panels do not cause leaks by themselves, but the setup needs drilling into your roof frame. If these holes are not sealed well, water can seep into your attic. Using certified inspection rules helps you find weak waterproofing before it causes damage. A pro check confirms that every mount point is tight and safe. This stops small drips from turning into major frame issues that could harm your home and your new solar gear.
Do solar panels affect home insurance?
Yes, solar panels can change your home’s worth and how it is built. Many firms want expert files to show the work meets safety rules. Expert inspection reports take just 24 to 48 hours to finish. They provide the proof you need for your insurance and for selling your home. Having this file shows your roof was in top shape after the panels were put on. It protects you if you need to file a claim later.
Schedule a post-solar roof inspection
A prompt inspection gives you a clear record of your roof after the solar work and helps you address concerns before the next heavy rain. Cert-A-Roof provides detailed roof inspections for Southern California property owners, with findings you can use to plan maintenance and discuss next steps.
Schedule a certified roof inspection and get a professional, roof-focused assessment of your solar installation area.
Article reviewed by Paul Watrous, President of Cert-A-Roof and the NRCIA.

Comment (0)