Roof Leak Detection: How to Find and Identify Leaks Before They Worsen
A small ceiling stain can signal a much larger roofing problem, especially after rain, wind, or a period of heavy sun exposure. Water often travels along roof decking, insulation, or framing before it appears indoors, so the visible mark may not sit beneath the actual opening. If you cannot safely inspect the area, schedule a professional roof inspection with Cert-A-Roof before moisture spreads.
Schedule a roof inspection with Cert-A-Roof today to catch hidden leaks before they cause costly damage.
Effective roof leak detection combines an exterior visual check with a careful attic inspection. Look for missing or damaged shingles, failed flashing, daylight through the roof deck, damp insulation, water trails, unusual odors, and ceiling stains. A moisture meter or thermal imaging can help locate hidden moisture, but severe leaks, unsafe roof access, and unclear water paths call for a qualified professional.
Start with the clues you can observe from the ground and inside your home. Understanding how stains, odors, and surface damage develop makes it easier to distinguish an active leak from an old repair and decide what deserves immediate attention.
What Are the Common Signs of a Roof Leak?
Roof leaks do not always announce themselves with active dripping. Often, the first clues appear indoors or on the roof surface, giving you an opportunity to investigate before moisture damages insulation, drywall, framing, or personal property.
Water stains and damp odors indoors
A brown, yellow, or spreading mark on a ceiling is one of the most recognizable warning signs. However, the stain is not necessarily beneath the roof defect. Water can travel along roof decking, rafters, insulation, or other building materials before it reaches the ceiling. In fact, leaks are rarely directly above the visible water spot, so tracing the stain straight upward may lead to the wrong conclusion. An attic inspection is often needed to follow the water path accurately. Professional roof inspection can help identify the entry point rather than only treating the interior symptom.
Musty or mold-like odors are another important clue, especially after rain or in rooms below an attic. The CDC and NIOSH identify observations of moisture, water damage, mold, and mold odors as useful indicators of dampness-related hazards. You do not need to wait for visible mold growth before taking the smell seriously. Persistent odors can indicate wet insulation or concealed moisture that should be investigated.
Peeling paint and damaged roof materials
Bubbling, blistering, cracking, or peeling paint may develop when moisture becomes trapped behind a ceiling or wall finish. Discolored drywall, soft spots, and sagging areas deserve prompt attention. Repainting the surface without correcting the source can hide the evidence temporarily while the underlying damage continues.
Outside, look for cracked, curled, loose, or missing shingles, exposed underlayment, and damaged areas around roof penetrations. A roof surface may also reveal a problem through exposed fasteners or deteriorated flashing, although some defects are difficult to see from the ground. In Southern California, do not assume a leak is impossible during dry weather. Prior rain may have exposed a weakness, while heat and sun can accelerate deterioration in vulnerable roofing materials.
Daylight through the roof boards
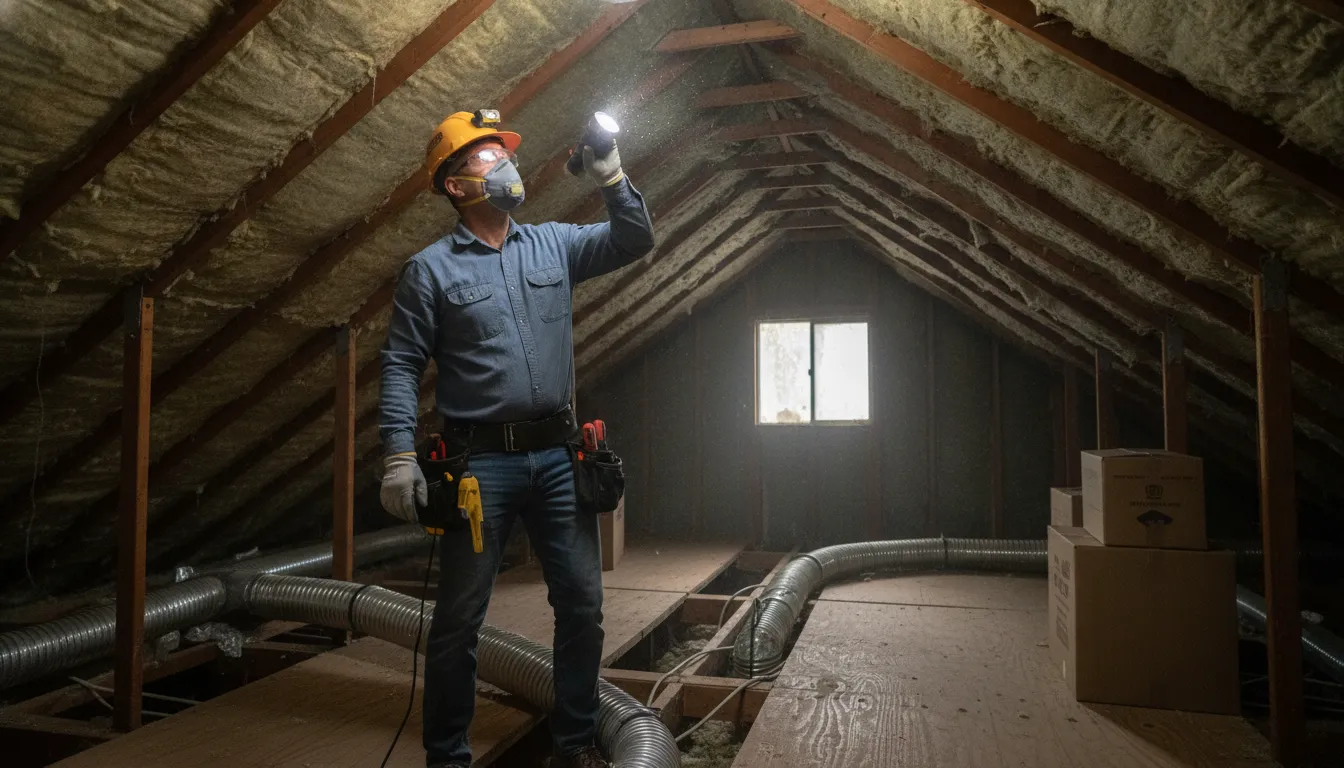
If you can safely view the attic from the access area, look for small points of daylight passing through the roof boards. Daylight can identify a hole or gap that may also admit wind-driven rain. Water trails, damp insulation, darkened wood, or fresh staining provide additional evidence. Avoid walking on attic insulation or roof decking unless you know where the structural supports are, and do not climb onto the roof when conditions are unsafe. A combination of indoor symptoms and exterior evidence gives an inspector a much clearer starting point for roof leak detection.
How to Inspect Your Attic for Roof Leaks
A careful attic inspection can help you trace water back toward its entry point, but it should never put you at risk. Water can travel along roof decking, rafters, and insulation before becoming visible inside the home. So the ceiling stain below may not line up with the actual opening in the roof.
-
Start with a safe exterior view
Before climbing a ladder or stepping onto the roof, inspect from the ground with binoculars. Look for missing or displaced shingles, damaged flashing, unusual sagging, or visible openings. The University of Wisconsin Extension recommends using binoculars first rather than risking an injury during a roof inspection. If you see structural sagging, extensive storm damage, or another dangerous condition, stop and arrange a professional inspection.
-
Prepare before entering the attic
Choose a dry time when possible, bring a bright flashlight, and wear protective clothing, gloves, and a mask if dust or mold may be present. Step only on the attic floor framing or installed walk boards, never on the drywall ceiling below. Keep clear of electrical wiring, recessed lights, HVAC equipment, and areas where the structure appears weak.
-
Look for daylight and water paths
From inside the attic, scan the underside of the roof decking for daylight shining through a hole, gap, or failed roof penetration. Also look for drip trails, darkened wood, and water marks. The presence of daylight can identify an opening, while a trail may show where water traveled after entering. Use the guidance from the University of Wisconsin Extension roof leak guide as a reference for this tracing process.
-
Check insulation, rafters, and surrounding areas
Feel or visually inspect insulation for dampness, clumping, discoloration, or a musty odor, while avoiding direct contact with unknown contaminants. Examine rafters, roof trusses, and sheathing for brown stains, peeling material, or clean-looking water tracks. Check around chimneys, vents, skylights, valleys, and other roof penetrations because water may enter at one point and move along framing before it drips.
-
Mark the suspected entry point
If you locate a hole or opening, mark it from inside by carefully pushing a small wire, straw. Or nail through the opening, provided doing so is safe and will not contact wiring or other hazards. This creates an exterior reference for the person completing the repair. Do not climb onto the roof to investigate further if conditions are wet, steep, unstable, or beyond your experience.
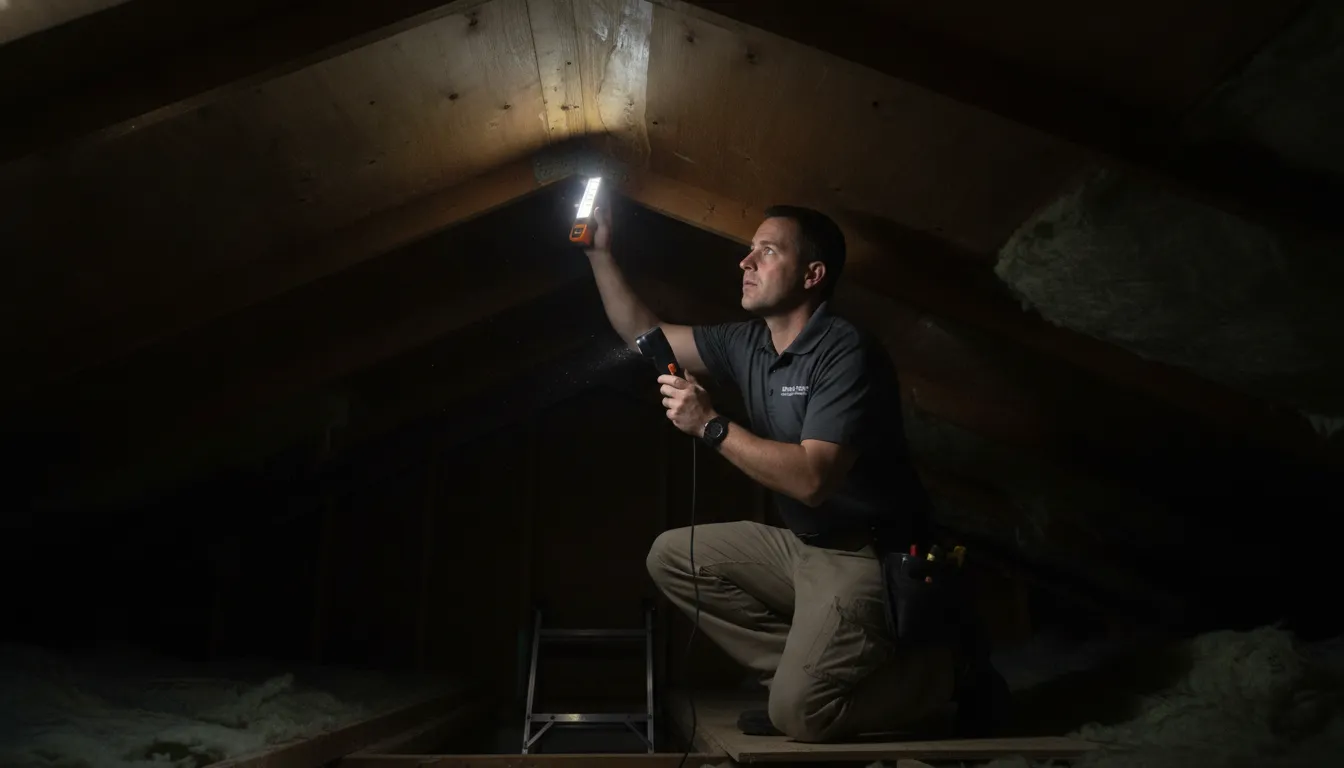
For difficult-to-trace leaks, Cert-A-Roof can combine attic observations with drone inspections and thermal imaging to identify patterns that may not be visible to the unaided eye. These tools support a more complete inspection without requiring a homeowner to take unnecessary risks. If you have found interior damage, review our guide to roof leak repair to understand what comes next.
What Tools Do Professionals Use for Roof Leak Detection?
A visible ceiling stain is often only the end of the water’s journey. Water can travel along roof decking, rafters, insulation, and wall cavities before it appears indoors. Professional roof leak detection combines visual inspection with diagnostic tools that help identify moisture, trace its path, and assess areas that are difficult or unsafe to reach.
Moisture meters
A moisture meter measures moisture levels in materials such as drywall, ceilings, floors, and other building components. This makes it useful when a leak is hidden behind a finished surface or when an area looks dry but may still contain trapped moisture. The U.S. Environmental Protection Agency identifies moisture meters as effective tools for locating hidden moisture in walls, ceilings, and floors. Read the EPA moisture-control guidance.
During an inspection, readings can help distinguish an active or recently affected area from an unrelated stain. They also help an inspector follow moisture beyond the point where the water became visible, reducing the risk of repairing the wrong location.
Thermal and infrared imaging
Thermal imaging cameras detect temperature differences across a surface. Moisture pockets can change how a roof assembly or ceiling absorbs and releases heat, creating a temperature pattern that may not be visible to the naked eye. An inspector uses those patterns as investigative clues, then confirms the finding with visual observations and moisture readings. Thermal imaging is especially useful for scanning broad roof or ceiling areas efficiently, although a thermal image by itself is not proof of a leak.
Electronic leak detection
Electronic leak detection, often called ELD, uses a controlled low-voltage electrical current to help trace a path where water may be entering a roof system. It can be valuable on low-slope roofs or membrane systems where the entry point is difficult to locate visually. The inspector interprets the electrical response and correlates it with roof details, seams, penetrations, and other likely paths. The method must be performed by a trained professional because roof construction, surface conditions, and electrical continuity affect the investigation.
Drones for exterior inspection
Drones give inspectors a safer, elevated view of roof surfaces, especially on steep, high, or expansive structures. High-resolution images can document damaged shingles, open seams, deteriorated flashing, ponding areas, and other conditions without requiring an inspector to walk every section of the roof. A drone does not replace hands-on evaluation or interior testing, but it can improve coverage and help connect exterior conditions with interior evidence.
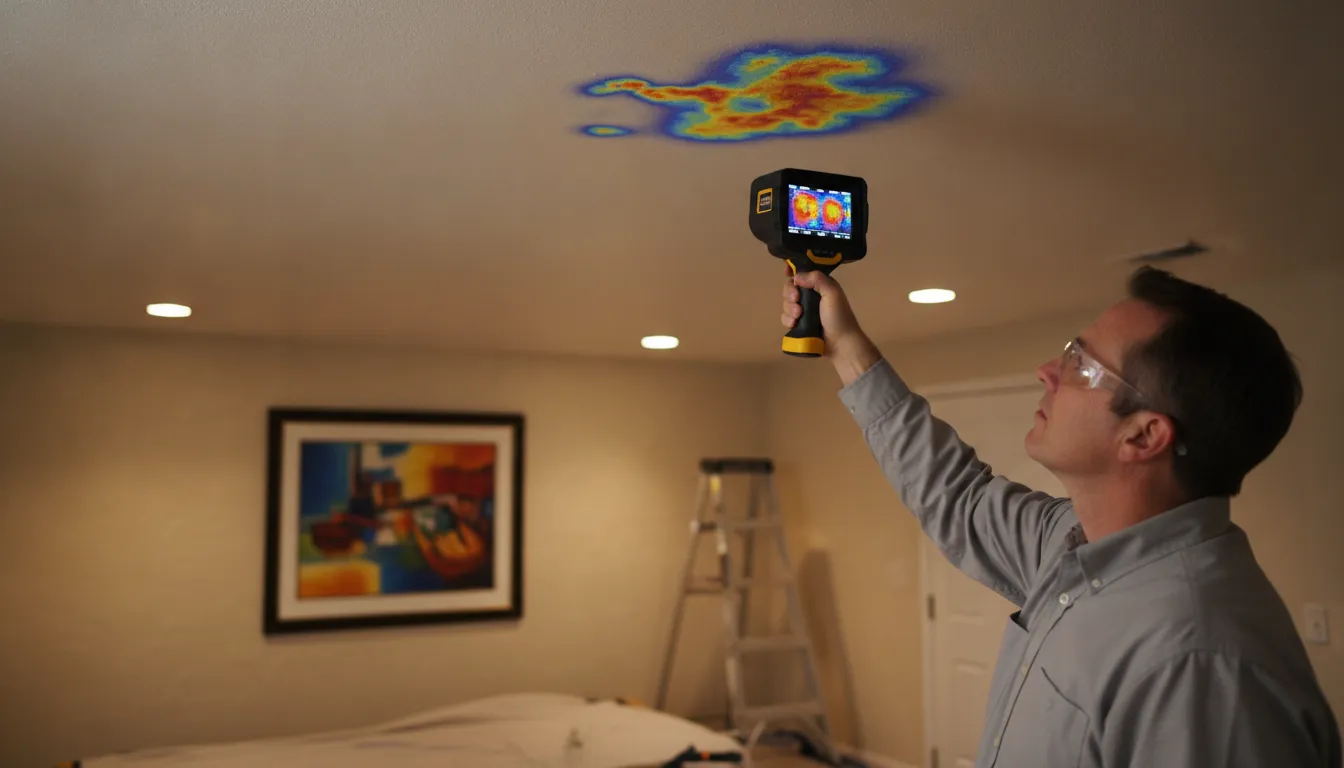
Cert-A-Roof uses drones, thermal imaging, and moisture meters as part of its diagnostic inspection process. Using several tools together creates a more complete picture of where moisture is present and how it may be entering the building. For active leaks that require immediate attention, emergency roof repair services can provide rapid response to prevent further interior damage.
DIY vs. Professional Roof Leak Detection: Which Approach Is Right for You?
The right approach depends on how visible the problem is, how safely you can inspect the area, and whether moisture has traveled beyond the original entry point. A quick DIY check can help identify an obvious issue. But professional roof leak detection is designed to trace hidden moisture and evaluate the roof assembly rather than simply locate a stain.
| Approach | Typical cost | What it can do | Main limitation |
|---|---|---|---|
| Visual inspection | Free | Checks ceilings, attic spaces, shingles, flashing, and visible water trails. | Cannot reliably identify concealed moisture or trace water traveling through the roof structure. |
| Binocular inspection | $20-$150 for binoculars | Allows a safer ground-level view of missing, damaged, or displaced roofing materials. | Does not provide close access or confirm whether a questionable area is actively leaking. |
| Basic moisture meter | $30-$200 | Helps identify elevated moisture in accessible walls, ceilings, or other building materials. | Readings require context and may not reveal the roof entry point. |
| Professional inspection | $150-$400 for a comprehensive inspection | May combine an attic inspection, moisture-meter survey, thermal imaging, and drone inspection. | Costs more initially, but offers a more complete assessment of hidden or complex problems. |
DIY roof leak detection can be reasonable when the leak is obvious, the attic is accessible, and you are comfortable performing a safe ground-level or interior inspection. Start with binoculars rather than climbing onto a roof. If you enter an attic, avoid stepping between joists and stop if conditions are unsafe. A ceiling stain may not sit directly below the leak, so tracing water without experience can lead to an incorrect repair. The University of Wisconsin-Madison Extension explains that attic inspection may be necessary because water can travel before it becomes visible indoors: roof leak guidance.
Choose a professional when the source is hidden, the problem keeps returning, or you see sagging roof sections, which can signal a structural concern. Professional assessment is also the safer choice after storm damage, when damage may involve areas that are difficult to see from the ground. A professional can document findings and explain whether repairs, temporary protection, or broader work is appropriate. The EPA cautions that moisture problems become expensive when left unchecked, making early investigation valuable even when the initial inspection cost is higher. For a more complete breakdown of the service and roof inspection cost, schedule an inspection rather than guessing at the repair.
What Causes Roof Leaks Around the Home?
Roof leaks usually develop where water is redirected, trapped, or allowed to reach aging materials. Several common causes can overlap, so finding the visible stain is only the beginning of effective roof leak detection.
Flashing failures at roof junctions
Flashing creates a water-resistant transition around chimneys, exterior walls, valleys, and dormer junctions. When flashing becomes corroded, loose, narrow, or displaced, water can enter at the seam and travel through the roof assembly before appearing indoors. Wet spots near a chimney or outside wall deserve particular attention because the source may be a flashing defect or loose mortar joint. Not a problem with the surrounding shingles. University of Wisconsin Extension guidance identifies these junctions as areas to inspect closely.
Gutters, downspouts, and drainage problems
Clogged gutters and downspouts prevent rainwater from moving away from the roof. Water may back up beneath roofing materials, collect near flashing, or spill against fascia and exterior walls. In Southern California, leaves and roof debris can create this problem even when snow is not a concern. Learn more about clogged gutter damage and why routine drainage maintenance matters.
Sun-damaged and aging shingles
Shingles do not weather evenly across every roof plane. Southern exposures typically deteriorate faster because they receive more direct sun. Look for cracking, granule loss, curling, brittleness, or other visible breakdown on south-facing slopes. Age-related wear, defective materials, and faulty installation can also reduce the roof’s ability to shed water over time.
Storm damage and winter ice dams
Wind can lift or remove shingles, while falling branches and heavy rain can expose weak points. Storm and wind damage are recognized causes of roof problems, along with defective materials and gradual deterioration. In colder regions, ice dams form when melting snow refreezes at the eaves. The resulting ridge can force meltwater back under shingles. This is less common in Orange County, but it matters for homes in snow-prone areas or properties exposed to unusual winter conditions.
Because these causes can be hidden beneath roofing layers, a professional inspection is often the safest way to connect interior damage with the actual entry point. If you suspect a hidden leak, schedule a comprehensive roof inspection with a qualified inspector who can trace the source using diagnostic tools.
How to Prevent Roof Leaks Before They Start
Prevention works best as a routine, not a response to the first ceiling stain. Use the following maintenance schedule to reduce avoidable water intrusion and catch small defects before they spread through roofing materials, insulation, or interior finishes.
- Schedule inspections in spring and fall. Cert-A-Roof recommends professional roof inspections twice each year. A spring inspection can identify damage after seasonal weather, while a fall inspection prepares the roof for the next period of rain and wind. Regular inspections of the roof, ceilings, and attic are essential for identifying early signs of dampness and correcting the source promptly, according to CDC and NIOSH guidance. If you are comparing service options, review the factors that affect roof inspection cost before scheduling.
- Keep gutters and downspouts clear. Remove leaves, roofing granules, and other buildup regularly. Confirm that downspouts discharge water away from the structure rather than pooling beside the foundation. Clogged gutters and downspouts can cause water to back up under roofing materials. For related warning signs, review our guide to clogged gutter damage.
- Inspect flashing and roof junctions. Check the areas around chimneys, vents, skylights, valleys, dormers, and wall intersections for corrosion, loose edges, displaced metal, or deteriorated sealant. Defective flashing is a common source of leaks, and damaged components should be repaired before the next storm instead of covered with a temporary patch.
- Maintain ventilation and HVAC systems. Attic ventilation helps manage heat and moisture, while regular HVAC maintenance helps control indoor humidity. Schedule HVAC inspections and correct problems promptly. In kitchens, bathrooms, and laundry areas, verify that exhaust fans vent properly to the exterior rather than into the attic.
- Manage drainage and landscaping. Make sure soil and hardscape direct water away from the foundation. Trim branches that overhang the roof, since falling limbs and repeated contact can damage shingles, flashing, or vents. After high winds, inspect the roof from the ground and arrange professional evaluation if anything appears displaced.
- Use a planned maintenance program. Cert-A-Roof’s annual roof maintenance program provides a structured way to track inspections, drainage, flashing, ventilation, and developing wear. A documented schedule is easier to maintain than relying on memory, especially for larger or commercial properties.
These steps support practical roof leak detection, but they do not replace a trained assessment when you notice staining, damp insulation, sagging, or visible roof damage. Avoid climbing onto a wet or steep roof. Have a qualified inspector trace the source and recommend the appropriate next step.
Do not wait for a small stain to become a costly repair. Schedule your roof inspection with Cert-A-Roof today and protect your home with professional leak detection.
Frequently Asked Questions
How do I find where a roof leak is coming from?
Start indoors by tracing the water stain, then inspect the attic for damp insulation, water trails, or daylight through the roof decking. The entry point may not be directly above the ceiling stain because water can travel along rafters and roof materials. Mark a suspected opening from inside, but avoid climbing onto a wet or steep roof.
Can a moisture meter confirm a hidden roof leak?
Yes. A moisture meter can help locate hidden moisture behind ceiling or wall finishes before visible damage appears. Use the reading as a diagnostic clue rather than proof of the roof defect, since plumbing, HVAC condensation, and indoor humidity can also create moisture. A professional can compare readings with attic and exterior observations.
Is infrared imaging useful for finding roof leaks?
Infrared imaging can help identify temperature patterns associated with moisture pockets beneath some roof surfaces. It works best when conditions create a measurable temperature difference, and it should be interpreted alongside a visual inspection and moisture readings. It is a locating tool, not a substitute for confirming the entry point.
When should I call a professional for roof leak detection?
Call a professional when the leak is active, difficult to trace, near electrical fixtures, associated with sagging, or beyond a safe ground-level inspection. Professional help is also appropriate when you are not experienced with roof work. The University of Wisconsin Extension advises hiring a professional when repairs exceed simple temporary measures or the homeowner lacks experience: roof leak guidance.
Does homeowners insurance cover roof leak detection?
Coverage depends on the policy and the cause of the damage. A sudden covered event, such as certain storm or wind damage, may be treated differently from gradual deterioration, deferred maintenance, or an excluded cause. Document the visible damage, prevent further interior exposure if it is safe, and review your policy or contact your insurer before authorizing major repairs.
What is the average cost of professional roof leak detection?
A professional roof inspection for leak detection typically costs between $150 and $400, depending on the roof size, slope, and diagnostic tools needed. This may include an attic inspection, moisture-meter survey, thermal imaging, and drone assessment. While more expensive than a DIY check, professional detection reduces the risk of repairing the wrong location or missing hidden moisture. Contact Cert-A-Roof for a detailed inspection quote tailored to your property.
Comment (0)