Roof Inspection Report Example: How to Read It
A roof inspection report example can look dense at first, especially when you are trying to protect a closing date, insurance file, or roof certification decision. The pages that matter most are the ones tied to action, cost, and certification.
Need a clear roof report before a sale, insurance review, or certification decision? Schedule a certified roof inspection with Cert-A-Roof.
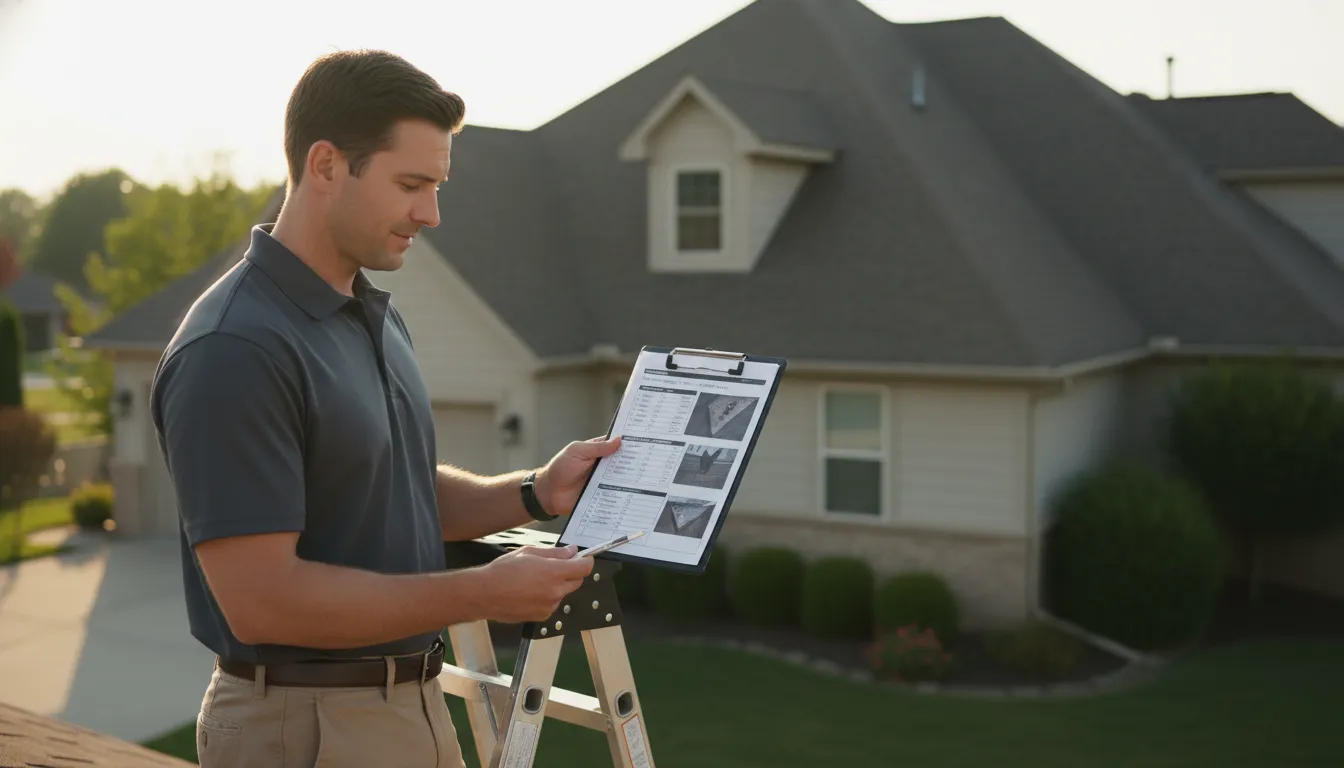
How to read a roof inspection report starts with the summary, then the clear photos and recommended actions supporting every flagged condition. First, identify the roof systems inspected and note current observations about shingles, flashing, openings, drainage, visible leaks, and estimated useful life. Match each repair recommendation or cost estimate to a supporting photo and a stated condition, rather than treating every comment alone as urgent damage. The NRCIA says a professional report creates a detailed snapshot of documented roof condition at a specific point in time. Finally, check whether required repairs affect certification, insurance, lender approval, or a closing deadline, because those items may need action before the transaction advances on schedule.
Whether you are buying, selling, or planning repairs, the key question is which findings demand action now and which need monitoring. Next, start with How to read a roof inspection report from the summary first, then trace every concern to its evidence and next step.
How to read a roof inspection report from the summary first
If you are learning how to read a roof inspection report, do not begin with the longest photo section. Start with the summary. It tells you which findings may affect repairs, timing, or a property decision.
Buyers, sellers, homeowners, and agents need the same first answer: does the report point to a sound roof or needed action? If you need that answer for a property, schedule inspection scheduling before making the next decision.
Start with the decision points
Read the executive summary once without jumping into photos. Mark any words that signal active leaks, repair needs, certification limits, or follow-up work. These items frame the rest of the report and help you ask useful questions.
A professional report should bring the most important findings forward, then explain the roof parts in a clear order. That report structure follows guidance on the professional roof inspection report from NRCIA. The summary is a map, not the full answer.
- Buyer: Note issues that may affect the offer, inspections, or repair talks.
- Seller: Note items that may need repair or clear records before listing.
- Homeowner: Note urgent work, upkeep needs, and questions for the inspector.
- Agent: Note findings that need clear follow-up during the transaction.
Check the scope and roof profile
Next, read what was inspected and what was not. The scope may name the roof covering, drainage, flashing, penetrations, attic signs, or other visible areas. Limitations matter just as much. A section not accessed or not visible is not a confirmed clean finding.
Then find the roof type, known age, and overall condition rating. A roof type helps explain which details appear later in the report. An age listed as unknown is a prompt to look for permits, seller records, or past service records.
Do not treat one condition label as the whole report. A broad rating can sit beside a specific concern, such as a leak path or a repair item. Read the summary and limitation notes together before relying on a label.
Turn recommendations into next steps
Recommendations should tell you what needs attention now and what needs more review. Separate repair items from monitoring notes and from items that need documents or specialist input. That sorting makes a long report usable without guessing at the inspector’s meaning.
For a purchase or sale, share open items with the right parties while deadlines still allow review. For a current home, use the findings to plan work and keep records. The report starts the decision process; it does not replace clear follow-up.
What a roof inspection report example usually includes
A roof inspection report should help you see what was checked, what was found, and what needs attention next. To learn how to read a roof inspection report, start with the summary. Then trace each concern to photos and next steps. The NRCIA guidance on professional reports describes a report as a detailed snapshot of roof condition at a set time.
Property and roof details
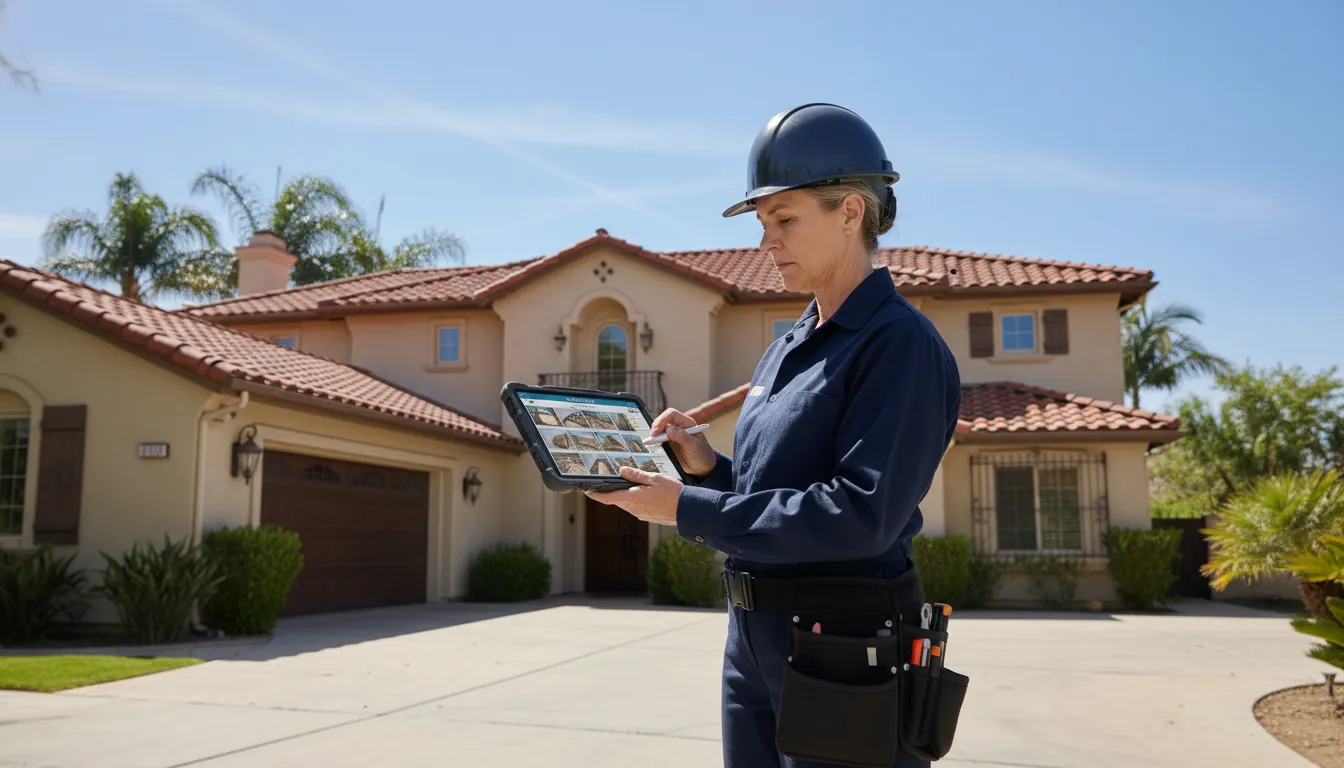
The opening pages usually name the property, inspection date, client, inspector, and reason for the review. Next comes a roof system overview. Look for the roof type, visible materials, slopes or sections, and the method used to gain access. Access matters because a ground view or limited view cannot document the same areas as close inspection.
The overview may also list coverings, underlayment where visible, flashings, vents, skylights, gutters, and drains. This creates a map for the findings that follow. If you want to see how a professional review is presented, compare the report with a inspection process description.
Findings, photos, and meaning
The condition section explains what the inspector observed on each roof surface. It may note wear, broken or displaced materials, exposed areas, ponding, debris, or signs of prior repair. Separate entries often address flashing, pipe penetrations, skylights, chimneys, and drainage points. These are places where small defects can affect water control.
| Report section. | What it tells you. | What to check. |
|---|---|---|
| Property information. | Scope and inspection record. | Correct address and date. |
| Roof system overview. | Materials and roof areas. | Every section is listed. |
| Access method. | How areas were viewed. | Any inspection limits. |
| Condition findings. | Observed defects or wear. | Location and urgency. |
| Photos. | Visual support for findings. | Clear labels and locations. |
| Recommendations. | Repair or follow-up items. | Effect on certification. |
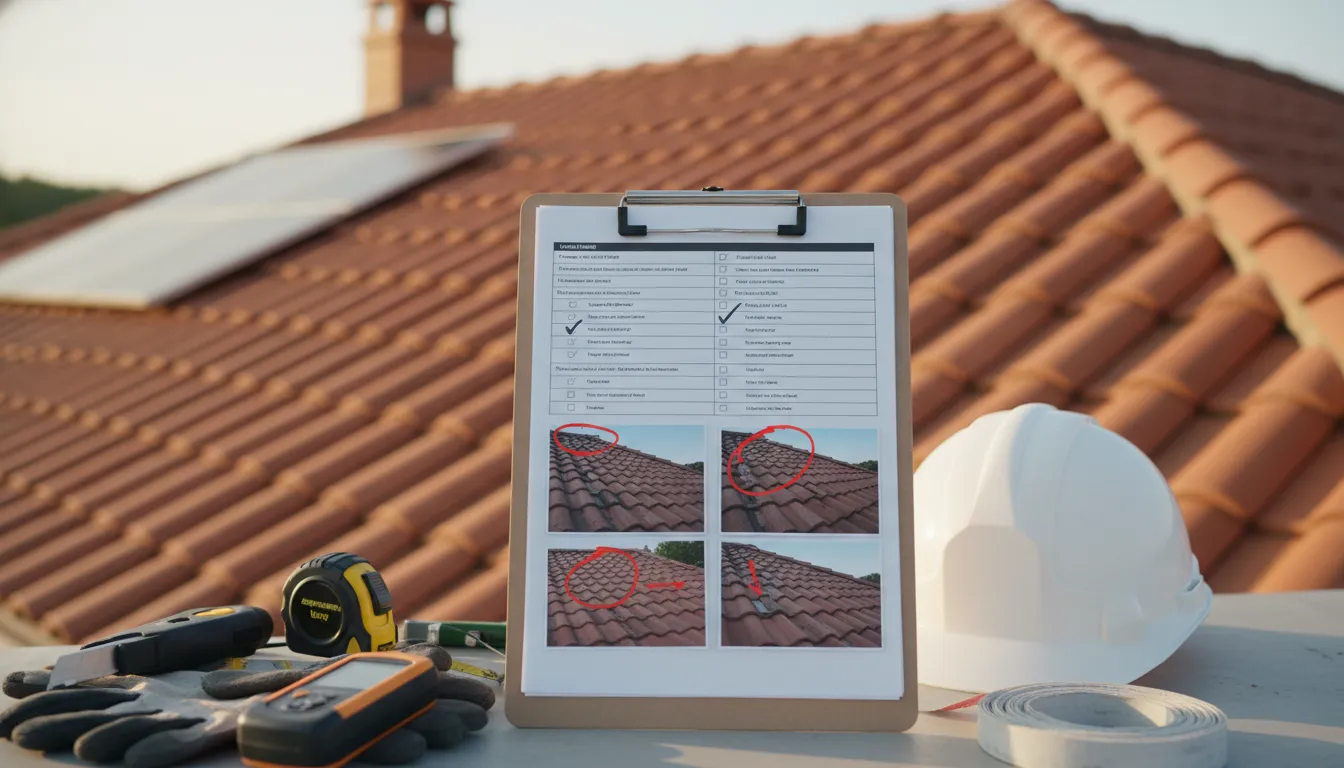
Photos should match the written finding, with enough detail to locate the item later. The report should label each view and link it to a noted issue. When a photo is unclear, ask which roof plane or detail it shows before relying on a repair recommendation.
Recommendations and certification eligibility
The last part commonly sorts recommended action, such as maintenance, repair, further review, or replacement planning. A report may include an estimate, or it may state that pricing requires a repair scope. Read each recommendation beside its photo and location, not as an isolated line item.
For a certification review, find the statement on eligibility and any work required first. Needed repairs can affect a sale, insurance request, or lender file. Cert-A-Roof states in its published customer information that reports are provided within 24-48 hours for real estate timelines. A clear report should say whether certification can proceed now or after listed corrections.
How do you interpret roof inspection photos and observations?
Interpret roof inspection photos by matching each image to its roof area, reading the caption, and comparing the visible condition with the written recommendation. A clear report should show the location, the concern, and whether the next step is repair, monitoring, or further review.
Match each photo to its roof area
When learning how to read a roof inspection report, start with the location of each photo. Look for roof plane, slope, edge, valley, ridge, chimney, skylight, or vent labels. A clear caption should state where the image was taken and what the inspector noted.
Photos are evidence, not decoration. NRCIA advises inspectors to use high-quality, annotated photos to support findings. Read arrows, circles, dates, and close-up labels beside the wider view. The overview gives location; the close-up shows the condition under review.
Use the roof sketch or area names as a map. If several photos show one area, read them as a sequence. A wide view can show placement. A close view can show the detail noted by the inspector.
Separate a symptom from a cause
An observation records what is visible: a lifted shingle, open sealant, stain, debris, rust, or standing water. A cause explains why it happened, which may need more review. For example, a ceiling stain may show past moisture entry. It does not, by itself, prove the active entry point.
Look for notes that distinguish observed conditions from next steps. Phrases such as “monitor,” “repair,” or “further review needed” have different meanings. If the note is unclear, ask which photo supports the finding. A clear inspection report should connect the image, location, concern, and recommended action.
Do not read every photo as a repair order. Some images document roof features or prior work. Others support an observed concern. The written note should tell you which type of image you are viewing.
Read common observations in context
Flashing notes often appear at walls, chimneys, skylights, vents, and other penetrations. Review whether the photo shows a gap, loose metal, failed sealant, or staining nearby. Lifted shingles may be marked at edges or tabs. Check whether the note calls for repair or added review.
On low-slope areas, ponding notes describe water that remains on the surface after rain. Photos may also show debris near drains or scuppers. Debris is an observed condition. It should not be treated as the cause of a leak without supporting notes.
Vent and penetration photos need the same careful read. Identify the item first, then look for cracked boots, exposed fasteners, gaps, or nearby staining. Interior photos of stains or damaged material can support a concern. They may not locate the source alone.
Plain-language notes make the images useful. A strong entry states the roof area, visible condition, level of concern, and next step. That structure helps homeowners and buyers compare findings without guessing what a technical term means.
What roof inspection report example ratings and red flags mean
Condition labels and rating scales
When learning how to read a roof inspection report, start with the condition summary. A label such as Good, Fair, Poor, or Failing is a quick guide, not the full finding. Some reports use a numbered scale instead. Read the notes and photos tied to each roof part before deciding what the rating means.
A roof can have sound field shingles yet show concern at a vent, chimney, edge, or drain area. The summary should lead you to the exact location and needed action. A professional roof review can help a buyer or owner review findings in a clear service context.
Remaining useful life and urgency
Remaining useful life is an inspector’s estimate of how long a roof system may remain serviceable in its present condition. It is not a promise that no leak will occur. Weather, drainage, care, and later damage can change the outlook. Compare the estimate with listed repairs and report evidence.
Urgency terms should answer a practical question: what needs attention now, and what may be planned later? A current leak, open penetration, loose flashing, or storm damage concern calls for prompt review. Worn surfaces without active failure may call for planned care or a follow-up check.
Look for photos that match each urgent finding. The NRCIA guidance on professional roof inspection reports says annotated photos provide clear evidence of findings. If an urgent label has no location, photo, or repair note, ask the inspector for more detail.
Red flags for certification and closing
Red flags are findings that can keep the roof from being certified until they are addressed. They can also raise questions during insurance review or a home sale. Focus on defects tied to water entry, storm damage, failed roof parts, or missing evidence. These issues matter more than broad wording alone.
- Active leaking, water staining, or an opening that lets water enter.
- Damaged or lifted materials, failed flashing, or unsafe penetrations.
- A repair requirement stated before certification can be issued.
- Photos or notes that do not clearly support the rating shown.
A second roof layer deserves attention, but its meaning depends on the roof and local requirements. Do not treat that note as an automatic failure. Ask whether it changes the observed condition, repair approach, future tear-off plan, or permit review in that location.
For a purchase or sale, read the red flags before deadlines tighten. Cert-A-Roof reports are provided with a 24-48 hour turnaround, which supports real estate timelines. If repairs are required for certification, confirm the scope and next inspection step before relying on roof status.
How to understand repair recommendations and estimates in a roof inspection report example
Three kinds of recommended work
When learning how to read a roof inspection report, first sort each recommendation by purpose. Immediate repairs address an active leak, unsafe condition, or defect that blocks a stated certification outcome. Maintenance covers upkeep, such as correcting wear before it becomes a larger concern. Replacement is a broader scope decision when limited repairs cannot meet the stated goal.
Do not treat every note as an order to replace the roof. Start with the summary, then match each recommendation to photos, roof components, and the inspector’s reason. NRCIA guidance for professional roof inspection reports calls for clear language and annotated photos that support each finding.
Scope, cost, and certification
An estimate should answer one basic question: what work is priced, and what outcome is expected? A patch, a maintenance item, and a replacement proposal should not be compared as if they cover the same scope. Check the work area, materials, access needs, exclusions, warranty terms, cleanup, and any need for follow-up review.
A generic estimate prices requested work; it may not show why that work is needed. A professional investigation records conditions and connects each recommendation to visible evidence. For a certification decision, ask which listed repairs are required and which are optional care items. That distinction keeps price discussions tied to the report, not to guesswork.
If your decision depends on documented roof status, request a certified roof inspection before approving repairs. Need documented protection once repairs are complete? Review Cert-A-Roof’s roof certification process to understand the certification step and its written record.
Questions before approval
Before signing, ask the inspector or contractor to explain each line item in plain terms. These questions help separate a required repair from an added upgrade:
- Which finding does this repair address, and where is its photo evidence?
- Is this item needed now, routine maintenance, or part of replacement planning?
- Will this scope resolve the stated condition, or could more work be needed after access?
- Does this work meet certification requirements, or is another inspection needed?
- Which materials, permits, cleanup, warranties, and exclusions are included in the price?
Keep the report, estimate, photos, and completion records together. These records help you check the approved scope and discuss any changed condition during the work. If a transaction has a deadline, ask when repaired items can be reviewed and documented.
Which findings can affect roof certification or a real estate closing?
Findings that can pause certification
When learning how to read a roof inspection report, start with findings tied to water entry. An active leak is not a minor note. Failed flashing at penetrations, cracked or missing roof coverings, and open seams can require action before certification is issued.
Next, review drainage and surface condition notes. Ponding water, damaged drains, poor water flow, or debris can point to added risk. Loose tiles, worn shingles, damaged underlayment, and weak transitions may call for repairs, even if the ceiling looks dry today.
A useful report should show why a finding matters. The National Roof Certification and Inspection Association describes a professional report as a detailed snapshot of roof condition. Photos, clear locations, and repair notes help the parties discuss an issue without guessing.
Records and access during a sale
Not every delay starts with roof damage. Missing repair receipts, warranty papers, permits, or past certification records can leave questions for a buyer, lender, or insurer. Read the report for requested records, areas not verified, and any statement that more review is needed.
Access limits matter as well. A basic home inspection may view a roof from the ground, a ladder edge, or an attic space. A certified roof inspection focuses on the roof system and its documented condition. If sections were not accessible, the parties may need a return visit before relying on the result.
Buyers and sellers should compare any limits with the report scope. Cert-A-Roof’s Cert-A-Roof roof inspection service helps when a transaction needs focused roof findings and documented next actions.
Timing the inspection and repairs
Order the certified inspection early in the transaction period, not just before closing. Early scheduling leaves time to inspect, review findings, arrange required repairs, and document the completed work. This helps after a prior leak, visible wear, a storm concern, or an initial inspection that calls for roof review.
If repairs are listed, separate required certification work from upkeep advice. Ask which corrections must be completed, what proof is needed afterward, and whether a reinspection is required. That distinction helps buyers and sellers plan repairs without treating each maintenance note as a closing emergency.
Cert-A-Roof provides reports with a 24-48 hour turnaround, which can help real estate teams meet inspection deadlines. The report is not just a pass-or-fail document. It is the record used to address access gaps, repair needs, and certification steps before closing moves forward.
Questions to ask after you review the report
Your report discussion
Knowing how to read a roof inspection report is only the start. Once you read it, list each finding that needs a plain answer. A professional report records roof condition at a point in time, according to the National Roof Certification and Inspection Association. Use your discussion to turn that record into next steps.
Keep the summary, photos, and repair notes open when you speak with the inspector. If the roof is part of a sale, ask questions before contract deadlines approach. The aim is simple: learn what needs action now and what needs later review.
Six follow-up questions
- What could the inspection not confirm? Ask about limits in access, visibility, weather, attic areas, drainage, or prior repairs. A stated limit does not prove a problem, but it shows where facts are incomplete.
- Which findings need prompt attention? Ask the inspector to point out active leaks, open penetrations, loose materials, damaged flashing, and safety risks. Then separate these items from routine upkeep or conditions to monitor.
- Will any finding prevent certification? Ask which repairs must be complete before a certified result can be issued. Confirm what proof is needed, who reviews completed work, and whether a follow-up inspection is required.
- What is the repair scope? Request the location, material, and reason for each advised repair. If there are repair options, ask how each one addresses the condition in the report.
- Who needs a copy of this report? For a purchase or refinance, ask your agent and lender what they need. If insurance is involved, ask your insurance contact which photos, findings, or repair records must be sent.
- When should follow-up occur? If repairs are needed, set a date for work records and any new review. If repairs are not urgent, ask when maintenance or a future inspection should be planned.
Records for the next decision
Questions about certification should be tied to the type of report you ordered. Review the inspection details and Cert-A-Roof roof inspection FAQs before your discussion. Then ask the inspector which findings affect your report result and which do not.
A buyer may use the answers to discuss repairs or a closing timeline. A homeowner may focus on maintenance, leaks, and insurance records. A property manager may need clear scope and proof for a property file. In each case, ask for plain terms and written next steps.
Before the discussion ends, read back your list of urgent items, repair needs, report questions, and follow-up dates. Note who will send documents and who must review them. This shared record helps keep the report useful after it changes hands.
Have a report with unclear findings or certification questions? Request a roof inspection review before transaction deadlines tighten.
Frequently Asked Questions
How are roof condition ratings usually expressed in a roof inspection report?
Roof condition ratings summarize each component, such as shingles, flashing, drainage, or penetrations, rather than replacing detailed findings. As explained by Penn Roofing, reports may use numbers or labels such as Good, Fair, Poor, or Failing. Read the legend first, then compare a lower rating with its photo, location, urgency, and recommended action.
Why is it important to check for a second layer of shingles in an inspection report?
A second shingle layer matters because it can change the scope and price of future replacement. It can also affect whether another overlay is permitted locally. Penn Roofing notes that an existing second layer can change replacement cost calculations. Review the layer count, then ask how local requirements affect the recommendation and estimate.
Why is photo documentation crucial in a roof inspection report?
Annotated photos connect a written observation to a specific roof area and visible condition. The NRCIA identifies high-quality, annotated photos as an essential part of a professional report. Check that images identify locations and support stated recommendations. If a major repair is advised without a clear photo or explanation, ask for clarification before making a decision.
Do roof inspection reports include repair cost estimates?
Not every roof inspection report includes a firm repair price. Some reports identify defects and recommended repairs, while a separate proposal provides cost, materials, and scope. When an estimate appears, confirm which findings it covers, whether urgent items are separated from maintenance items, and whether certification depends on completing specific repairs.
How can roof inspection findings affect certification or a real estate timeline?
Findings can affect a sale when certification, a lender, an insurer, a buyer, or a seller requires follow-up before a deadline. A report may identify repairs that must be documented or completed before certification is issued. Cert-A-Roof states that reports are provided within 24 to 48 hours, so schedule inspection early enough for review, repairs, and any needed reinspection.
Ready to understand your roof report before deadlines?
Unclear findings can leave needed roof work unresolved when a sale, insurance renewal, or certification decision is already moving toward a deadline. Waiting to address photos, recommendations, and estimated repairs can turn manageable next steps into rushed choices with less time to compare options. Starting now gives you time to understand the report clearly, ask informed questions, and make a practical plan confidently before decisions become urgent.
Ready to schedule a certified roof inspection? Schedule your roof inspection to receive clear professional documentation. Review your findings with more time for informed next steps. Contact the team now before property timelines create avoidable pressure. Request clarity on recommendations, repair priorities, and certification needs.

Comment (0)